In-Patient Management | 75Health
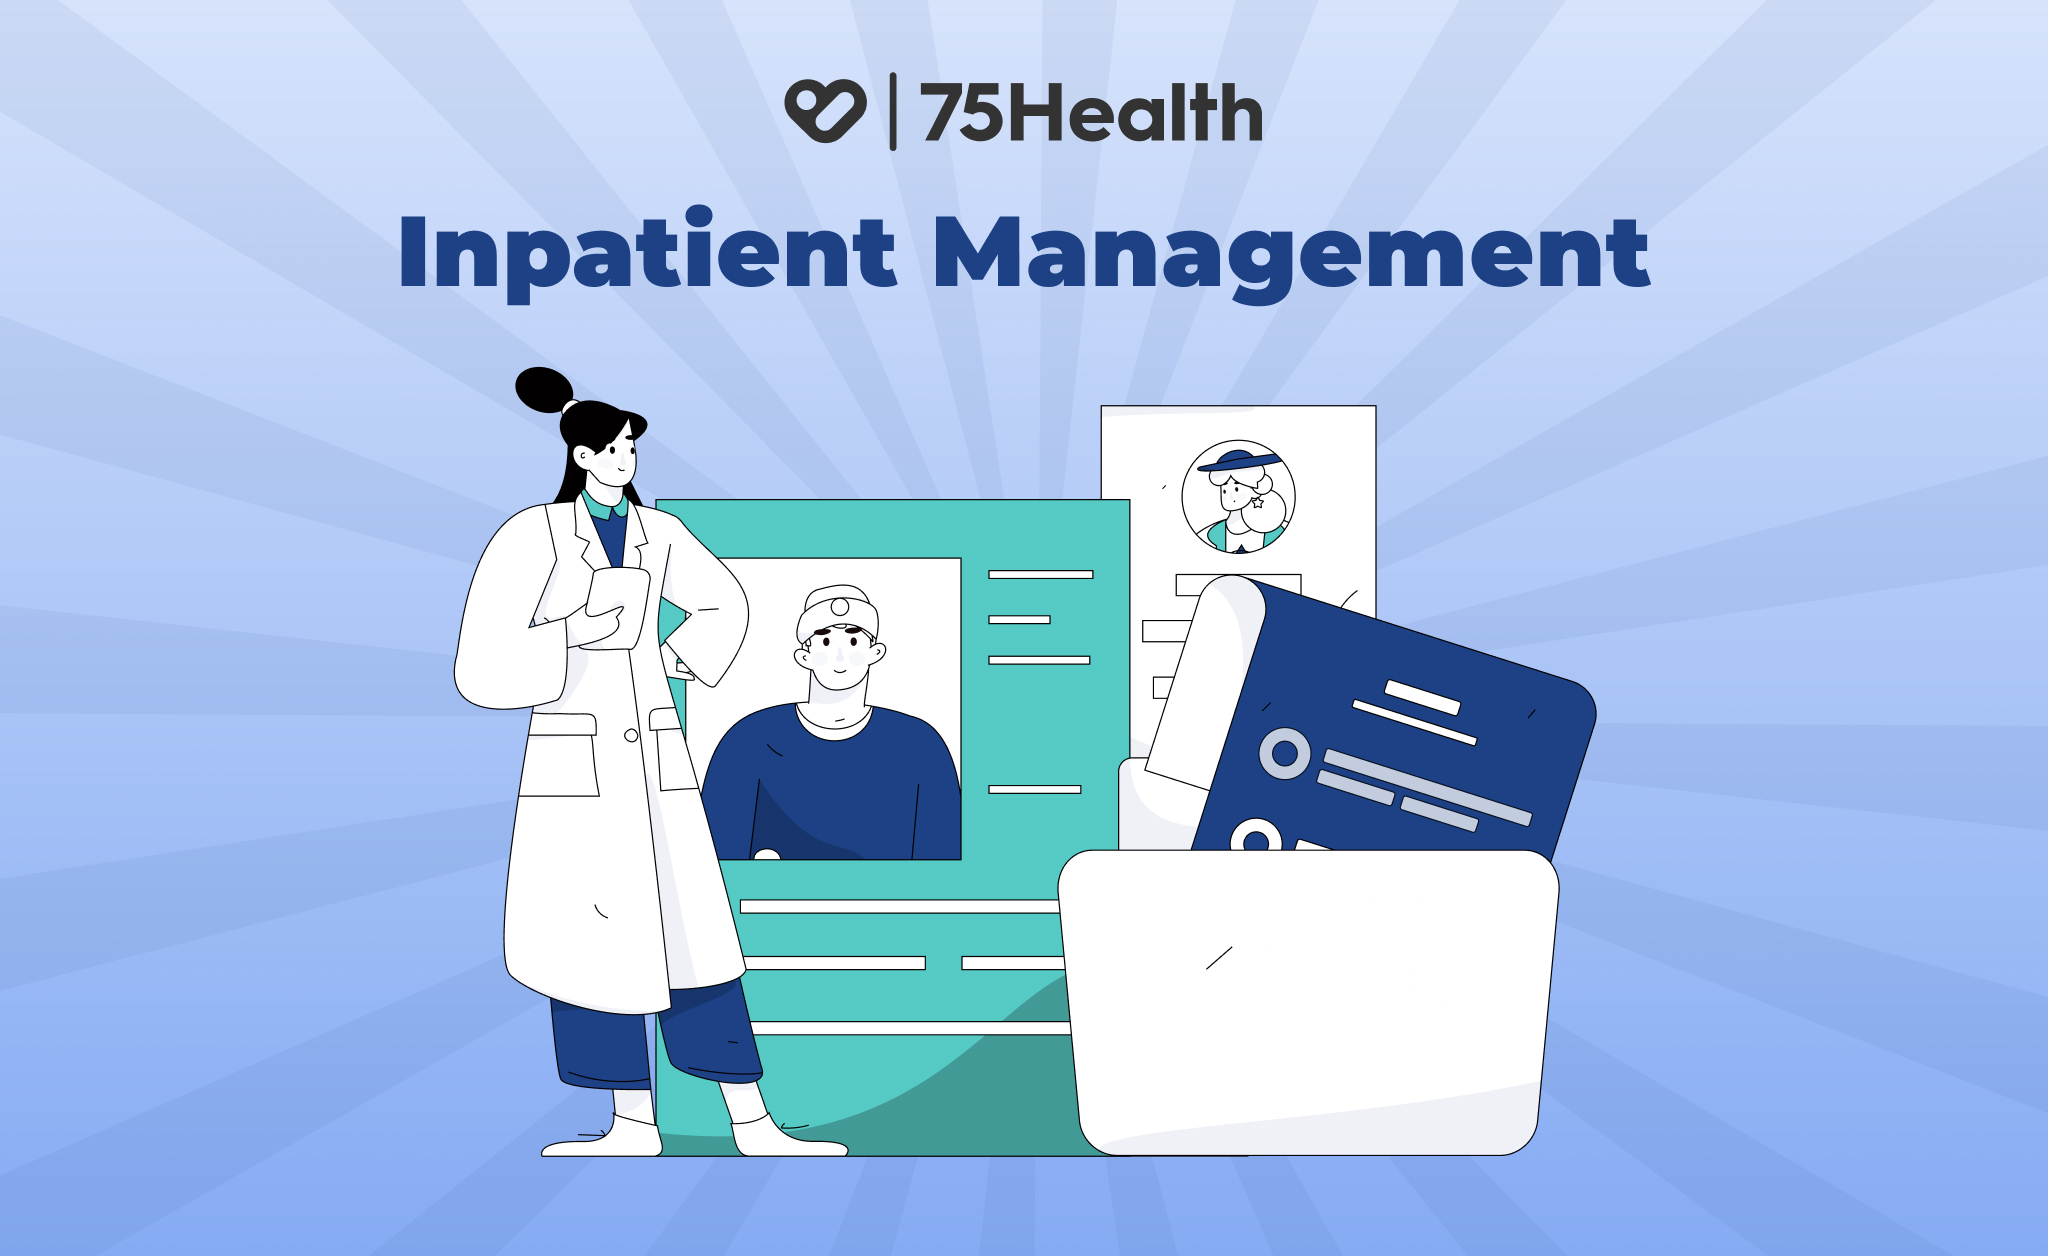
Effective practice management is the foundation of superior patient care. Patient care itself is a vast domain, categorized into two key types—Outpatient (OP) and Inpatient (IP). While OP visits are straightforward, requiring just a consultation and prescription, managing inpatients is a whole different challenge.
Bed availability checks, admission formalities, continuous monitoring, discharge planning, and follow-up visits are constantly needed. Each step has to be executed accurately and requires seamless coordination across departments.
However, hospitals often face challenges such as manual errors, delays in communication, and inefficient resource allocation, leading to a compromised patient experience.
To facilitate this complex process, 75Health Medical EHR Software introduces an IPD (In-Patient Department) Management feature—designed to make in-patient management efficient, organized, and patient-centric. This solution ensures that every step from admission to discharge is smooth and effortless.
In this blog, we’ll cover two key aspects:
- How the in-patient management process works in general—from admission to discharge.
- A step-by-step guide on how 75Health Cloud EHR IPD Management optimizes this workflow—ensuring efficiency, accuracy, and better patient care.
Let’s get started.
How In-Patient Management Works:
75Health In-Patient Management: A Step-by-Step Guide
Manage Rooms and Beds:
To efficiently manage the In-Patient Department (IPD), hospital administrators must first register and manage rooms by entering bed and room details. Here’s how to do it:
Step 1: Log in to 75Health EHR and navigate to the manage option in the left menu.
Step 2: Select rooms from the manage menu.
Step 3: Click the add rooms button.
Step 4: Enter the necessary details:
- Room Number
- Ward/Block
- Floor Selection
- Room Type (General, ICU, Isolation, Shared, Private, etc.)
- Bed Details (Add bed numbers)
- Price per Day
- Status (Set as Available)
Once rooms and beds are registered in the Manage Room section, the system automatically updates bed availability in real-time. Whenever a patient is assigned to a bed, the status is updated instantly—ensuring a seamless, automated workflow.
NOTE:
- You can add beds based on your hospital’s room capacity.
- You can set custom pricing for each room category if you have multiple room types.
Quick Admission:
Once a doctor determines that a patient needs hospitalization after the initial consultation, their profile status should be updated to Inpatient. After this status change, bed or room allotment must be completed.
Bed/Room Allotment:
- Once the status is changed to Inpatient, a pop-up will appear for room assignment.
- Select the Admission type and Date and click the assign room button.
- Select the Room Number and Bed Number for the patient.
- Once the bed allotment is completed, the patient will be automatically listed under the Inpatient list.
How to Check the Inpatient List:
- Click Manage in the menu.
- Select Inpatient to view the list of admitted patients.
That’s how simple it is to admit a patient!
Integrated EHR Access
Effortless Patient Record Access:
- Doctors can view the Inpatient List and click the list EHR icon next to a patient’s name to view their records. To create a new EHR, simply click the “Create New EHR” icon where they can update vitals, treatment plans, notes, and others.
Simplified Medication Management:
- Prescribe medications easily through the E-Prescription Module, ensuring smooth dispensing by pharmacists.
Streamlined Lab & Diagnostic Orders:
- Order lab tests and scans directly within the EHR for a more efficient workflow.
Specialist Referrals & Multi-Doctor Collaboration:
- Seamlessly refer patients to specialists by entering the doctor’s name, ID, email, and referral notes in the Referral Module.
- Multiple health records can be created for a single patient, ensuring a comprehensive medical history.
Continuous Monitoring Support:
After the initial checkup, regular morning and evening assessments ensure ongoing patient care. Our electronic medical record system supports real-time health tracking, allowing nurses, doctors, or healthcare staff to access and update live patient status easily.
This ensures a fully integrated and efficient inpatient management system, enhancing both care quality and operational efficiency.
Note: Patients can access their EHR anytime, anywhere to track their health status and reports effortlessly.
Invoice and Billing:
Once the treatment is completed, the next step is to generate the final bill.
Billing Process:
- Navigate to the Billing Module from the left menu.
- Search & Select the patient/doctor name to retrieve details.
To generate a bill, click ‘Custom‘ and select ‘Room Rent‘—the system will automatically fetch the relevant data.
- Auto-Generated Charges: Room charges are calculated based on the number of days.
- Additional Services: Add any extra treatments or services before finalizing the invoice.”
Discharge Process
- Payment Confirmation: The discharge process begins only after the bill is settled.
- Status Update: Once paid, the patient’s status updates to “Bill Paid.”
- Final Steps: Click Discharge Patient → Fill in the Discharge Summary (including treatment details, medications, and follow-ups).
- Easy Access: Once the discharge process is complete, patients can download their discharge summary for future reference.
Conclusion:
With 75Health Cloud Electronic Medical Record Software, every step from admission to discharge is automated, accurate, and hassle-free.
From quick admissions and real-time bed management to continuous monitoring, billing, and discharge summaries, our system ensures efficiency, transparency, and improved patient care at an affordable cost with our Enterprise Plan!
Experience effortless inpatient management today!
